The initial application is a multi step process that ensures the best protection possible. We use a low to no drip product and place a tarps and catch trays underneath your vehicle to catch drips while working on site. Our process is a 2 stage process. Stage 1 involves treating all body panels. Stage 2 treats the underbody/frame/suspension components to resist washout and salt brine spray that attacks your vehicle from below. See below for more information on our comprehensive step by step process.
Steps in the process below are for illustrative purposes. Common sense is applied liberally. If there are no plastic panels to spray above, no plastic panels are removed and so on. All steps are performed at the discretion of Rust Proofers to provide the best possible outcome for your vehicle. Substitute processes may be used. For example, using compressed air vs a battery powered blower or a needle scaler vs a wire brush.
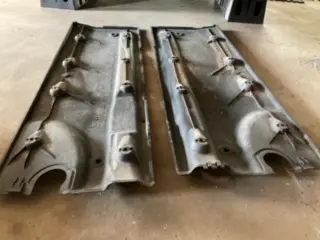
1. Plastic underbody panels are removed fully or partially to provide maximum coverage . The salt brine used for snow removal gets into every possible nook and cranny. Some rust proofing companies skip this step and tell you that “spraying over the plastic is good for the plastic.” Last time we checked, plastic does not rust.
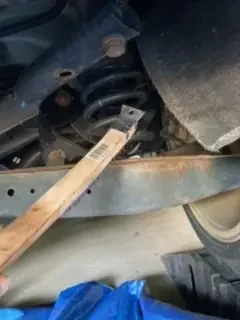
2. A wire brush, wire wheel, or both are used to lightly scrape any existing rust. This properly prepares the surface to be treated. All products used by Rust Proofers are designed to go over and treat existing rust.
3. Residual “rust dust” is blown off. This also removes any lose rust debris on top of the frame/cross members or suspension components.
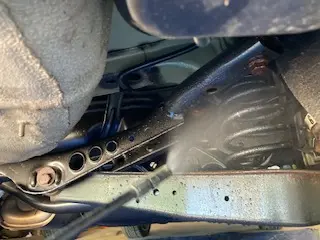
4. It’s time for a light application of desalinization fluid. This treatment is completely safe for all surfaces. This is done to neutralize any remaining salt residue from the winter.
5. One more quick air drying for the under body.
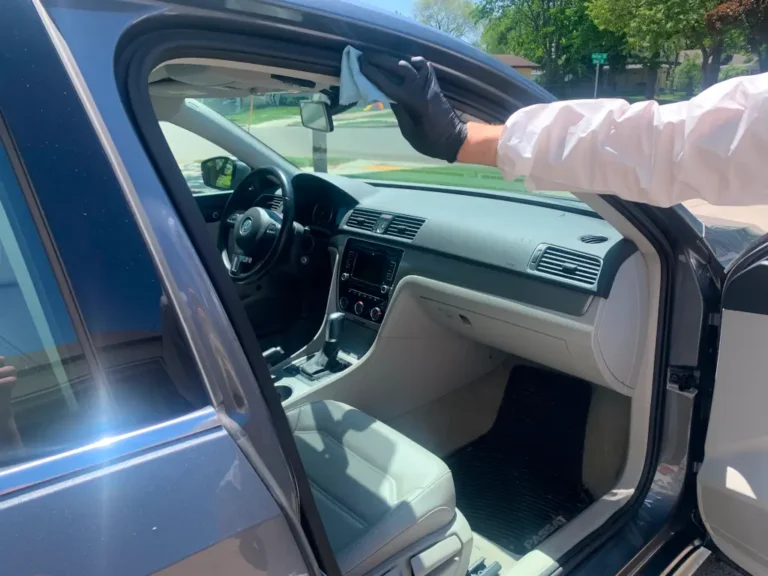
5. Before treating the body panels, a high quality rubber rejuvenating silicon protectant is applied to all weatherstripping. All of your weatherstripping around the door frames/trunk/hatch/tailgate are treated. This product prevents your weatherstripping from drying out and helps it maintain a proper seal.
6. Before spraying the body panels, drain plugs are removed allowing us to get into body cavities without drilling holes.
Upper Treatment
The upper treatment is anything the can treated by walking around the vehicle. If it’s seen, it’s treated! This includes all body panels, trunk/tailgate, hood, top of front/rear wheel wells, hood latch, spot welds/seams in the engine bay, fuel door hinge, door hinges, battery terminals, top of strut mounts and more. This stage of application uses a lubricating rust inhibiting spray on moving parts/hinges and our industry leading rust inhibiting product inside the body panels.
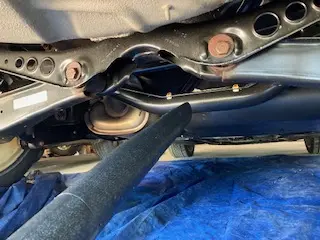
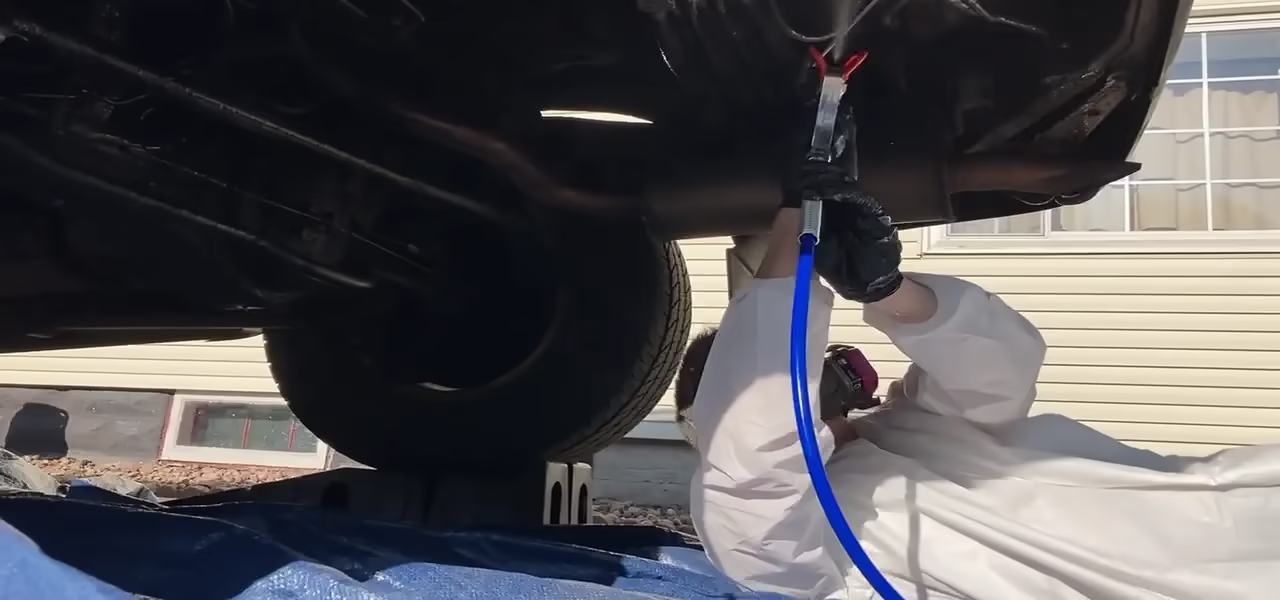
Lower Treatment
The underbody treatment includes control arms, suspension components, boxed frame, cross members, floor pan, fuel tank, fuel tank straps, and more.
Final Cleanup
Once your vehicle has been fully treated, it’s time for cleanup. This consists of wiping down body panels as needed and supplying you with some oil absorbing material. These can be used to clean up any stains. We minimize drips to the greatest extent possible. However, a few drips may happen as the product will continue to creep after application.